
-
 Phone:
 -
 Email:
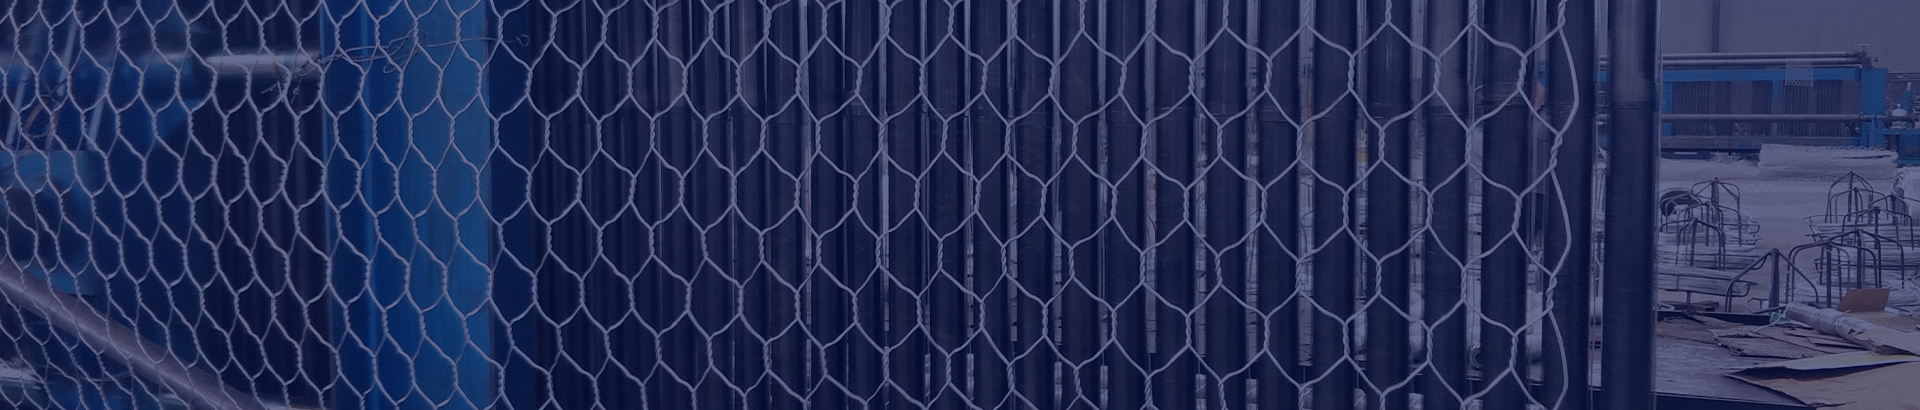
Guide to Efficiently Installing Chain Link Fences for Your Property
The Essentials of Chain Link Fence Installation
Installing a chain link fence can be an excellent option for property owners looking to enhance security, define boundaries, and provide visibility. Chain link fences are not only durable and low-maintenance, but they also offer a practical solution for keeping pets safely contained and children protected while allowing for clear sight lines. If you're considering a chain link fence installation, here's a comprehensive guide to help you understand the process and what to expect.
Planning Your Installation
Before you begin the installation process, it's crucial to plan carefully. First, determine the purpose of the fence. Are you trying to keep pets in or trespassers out? Understanding your primary goal will help you decide on the height and style of the fence. Most chain link fences come in heights ranging from 3 to 12 feet, so consider what will be most effective for your needs.
Next, check local zoning laws and regulations regarding fence installation. You may need permits, and there could be restrictions on fence height or style depending on your area. Additionally, identify the layout of your property lines to ensure proper placement. A survey may be necessary if boundaries are unclear.
Gathering Materials and Tools
Once planning is complete, gather the necessary materials and tools. You will need
1. Chain Link Fabric This is the main part of the fence. It comes in rolls and is available in various gauges and heights. 2. Fence Posts These will provide the structure for your fence. Line posts, end posts, and corner posts are typically required. 3. Top Rails These connect the posts at the top for added support. 4. Concrete Used to secure the fence posts in the ground. 5. Gates Consider adding a gate or two for access. 6. Tools Basic tools include a post hole digger, level, rubber mallet, wire cutters, and a tension tool.
Installation Steps
1. Marking the Layout Start by marking where the fence will be installed using stakes and string. This gives you a clear visual representation of the fence line.
chain link fence installation

2. Digging Post Holes Use a post hole digger to create holes for your posts. The holes should be about one-third the length of the posts, typically between 2 to 3 feet deep.
3. Setting Posts Place the end posts first, ensuring they are plumb. Pour concrete into the holes to secure them, allowing time for the concrete to set. After the end posts, install the line posts at regular intervals (usually 10 feet apart).
4. Installing Top Rails Once the posts are secure, install the top rails by connecting them to the posts using rail ties.
5. Attaching Chain Link Fabric Roll out the chain link fabric along the top rails and attach it to the posts using wire ties. Use a tension bar and tension tool to make sure the fabric is tight and secure.
6. Adding Gates If you’re installing a gate, follow the manufacturer’s instructions. Ensure the gate operates smoothly and aligns with the fence.
7. Final Touches Trim any excess fabric and secure loose ends. Check the entire fence for tightness and stability.
Maintenance Tips
Chain link fences are relatively low-maintenance, but it’s good to periodically check for rust or damage, especially in harsh weather conditions. Clean the fence occasionally to prevent any buildup of dirt or debris.
Conclusion
Installing a chain link fence can be a rewarding DIY project that enhances safety and defines your property. With careful planning and proper execution, you can create a functional and attractive fence that meets your needs. Whether for security or aesthetics, a chain link fence serves its purpose effectively, providing peace of mind and an attractive boundary for your property.
-
Reinforce Your Projects with Versatile Hexagonal Wire MeshNewsSep.12,2024
-
PVC WireNewsSep.12,2024
-
Maximize Your Closet Space with Clothes Hanger WireNewsSep.12,2024
-
Enhance Safety and Stability with Premium Rock Netting SolutionsNewsSep.12,2024
-
Bucket Handle WireNewsSep.12,2024
-
Baling Wire: Your Ultimate Solution for Securing and BundlingNewsSep.12,2024
-
What’s the Cost of Securing Your Property? Breaking Down Barbed Wire Fence PricesNewsAug.30,2024


