
-
 Phone:
 -
 Email:
Guide to Installing a Chain Link Fence for Your Property's Security and Aesthetics
Chain Link Fence Installation A Step-by-Step Guide
Installing a chain link fence can be a cost-effective and practical solution for securing your property. Whether you are looking to enclose a backyard, create a play area for children, or protect a garden, a chain link fence is durable, low-maintenance, and easy to install. This article will guide you through the essential steps for a successful chain link fence installation.
1. Planning and Materials
Before you begin, it’s crucial to plan your fence layout. Determine the perimeter by measuring the area where you want to install the fence. Mark the corners using stakes and string to visualize the boundaries. Next, gather your materials. You will need chain link fabric, posts (terminal and line), top rails, tension bands, ties, post caps, and concrete mix for the footings. Check local regulations regarding fence height and setbacks as these can vary.
2. Tools Required
You will need some basic tools for installation, including a post hole digger, a level, a tape measure, a wrench, and a saw
. Having these tools handy will streamline the installation process.3. Setting the Posts
Start by digging holes for your terminal posts using a post hole digger. The holes should be about one-third of the post's length deep and spaced approximately 10 feet apart. Place terminal posts at each corner, and every time the fence changes direction. Insert the posts into the holes, ensuring they are plumb and level using a level. Fill the holes with concrete and let it set, which typically takes 24-48 hours for a secure hold.
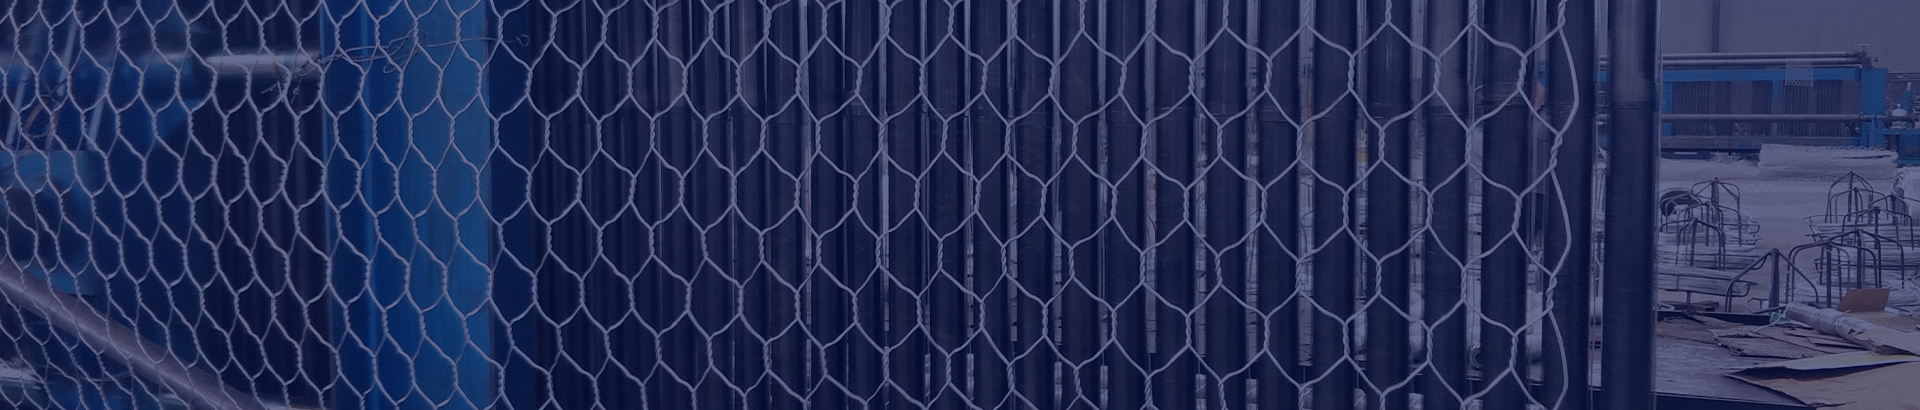
chain link fence installation

4. Installing the Top Rail
Once the concrete has cured, attach the top rail to the terminal posts. Use rail ends and braces to secure the rail in place. This top rail provides stability to the fence and helps keep the chain link fabric taut.
5. Applying the Chain Link Fabric
With the top rail in place, it’s time to install the chain link fabric. Begin at one terminal post and unroll the chain link, attaching it to the posts using tension bands and ties. Ensure the fabric is pulled tight to avoid sagging.
6. Adding Gates and Finishing Touches
If your fence includes a gate, install it according to the manufacturer’s instructions. Use a latch and hinges that suit your style and security needs. Finally, double-check the entire structure for stability and adjust any ties as needed.
Conclusion
Installing a chain link fence might seem daunting, but with a little planning and the right tools, it can be a straightforward project. This functional fencing solution offers security and transparency, making it an excellent choice for various applications around your property. By following these steps, you can enjoy the benefits of a newly installed fence for years to come.
-
Reinforce Your Projects with Versatile Hexagonal Wire MeshNewsSep.12,2024
-
PVC WireNewsSep.12,2024
-
Maximize Your Closet Space with Clothes Hanger WireNewsSep.12,2024
-
Enhance Safety and Stability with Premium Rock Netting SolutionsNewsSep.12,2024
-
Bucket Handle WireNewsSep.12,2024
-
Baling Wire: Your Ultimate Solution for Securing and BundlingNewsSep.12,2024
-
What’s the Cost of Securing Your Property? Breaking Down Barbed Wire Fence PricesNewsAug.30,2024


