-
 Phone:
 -
 Email:

Guide to Installing Chain Link Fences for Your Property
Chain Link Fence Installation A Comprehensive Guide
Installing a chain link fence can be a practical and cost-effective solution for securing your property. Known for its durability and versatility, a chain link fence is ideal for a variety of applications, including residential, commercial, and industrial settings. This guide will walk you through the process of installing a chain link fence, from planning to execution.
Step 1 Planning Your Installation
Before you begin, the first step is to plan your fence installation. Determine the purpose of the fence, as this will influence your choice of height and gauge (the thickness of the wire). Common heights for residential fences range from 3 to 6 feet, while commercial applications might require taller options.
Next, mark the perimeter where you’ll be installing the fence. This can be done using stakes and string or spray paint to outline the desired area. Be sure to check local zoning laws and regulations regarding fence heights and placement, as well as whether a permit is required.
Step 2 Gather Materials and Tools
Once you have a plan, it’s time to gather the necessary materials and tools. You will need
- Chain link fabric (the wire portion of the fence) - Fence posts (terminal and line posts) - Top rail and tension wire - Fittings (such as hinges and brackets) - Concrete for setting posts - A post driver or digger - Level - Tape measure - Wire cutters - Fence pliers - Safety gear (gloves, goggles)
Step 3 Setting the Fence Posts
With your materials ready, start by digging holes for the fence posts. The depth of the holes depends on the height of your fence; typically, holes should be about one-third the height of the posts. For example, if your fence will be 6 feet tall, the posts should be buried at least 2 feet deep.
Position the terminal posts (the end and corner posts) first. Ensure that these posts are set in concrete for stability. Mix the concrete according to the manufacturer's instructions and fill the holes around the posts. Use a level to ensure that the posts are straight, standing vertically. Allow the concrete to cure, usually for at least 24 hours.
After the terminal posts are secure, install the line posts (the posts located between the terminal posts) at intervals of 10 feet. Again, make sure these posts are straight and properly secured in the ground.
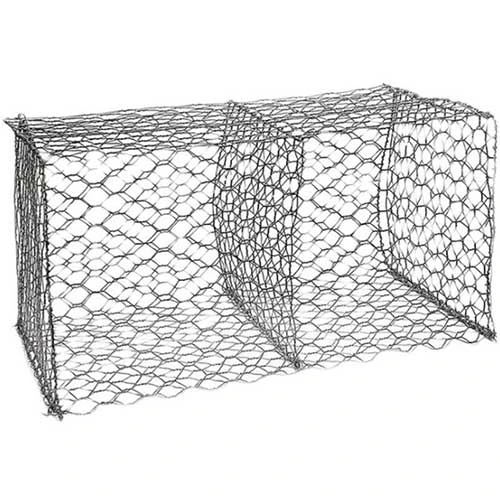
chain link fence installation
Step 4 Attaching the Chain Link Fabric
Once your posts are securely in place, you can begin to attach the chain link fabric. Start by unrolling the chain link fabric along the fence line. Use a come-along tool (a type of winch) to pull the fabric tight against the posts, ensuring that it remains straight and upright.
Attach the chain link fabric to the fence posts using tension bands and bolts. Begin at one end and work your way to the other, securing the fabric to the terminal posts first. Once the fabric is attached to the terminal posts, move on to the line posts.
Step 5 Installing the Top Rail and Tension Wire
After securing the chain link fabric, the next step is to install the top rail. The top rail runs horizontally across the fence, providing additional stability. Connect the top rail to the terminal posts using special fittings.
Finally, install tension wire at the bottom of the fence to help keep the fabric taut and prevent sagging. Attach the tension wire to the line posts using wire ties or clips.
Step 6 Finishing Touches
With the fence installed, take the time to check for any sharp edges or protruding parts. It’s critical to ensure that your fence is safe for pets, children, and anyone who may come into contact with it.
Consider applying a weather-resistant coating to the chain link fabric if it is not already treated. This will help prolong the life of your fence by protecting it from rust and corrosion.
Conclusion
Installing a chain link fence may seem daunting at first, but with careful planning and execution, it is a manageable project for most DIY enthusiasts. Not only does a chain link fence provide security and define property boundaries, but it also allows visibility, ensuring that your outdoor spaces feel open and inviting. With the right tools and a bit of patience, you can achieve a professional-looking installation that will serve your property for many years to come.
-
Reinforce Your Projects with Versatile Hexagonal Wire MeshNewsSep.12,2024
-
PVC WireNewsSep.12,2024
-
Maximize Your Closet Space with Clothes Hanger WireNewsSep.12,2024
-
Enhance Safety and Stability with Premium Rock Netting SolutionsNewsSep.12,2024
-
Bucket Handle WireNewsSep.12,2024
-
Baling Wire: Your Ultimate Solution for Securing and BundlingNewsSep.12,2024
-
What’s the Cost of Securing Your Property? Breaking Down Barbed Wire Fence PricesNewsAug.30,2024

