
-
 Phone:
 -
 Email:
2 月 . 02, 2025 02:31
Back to list
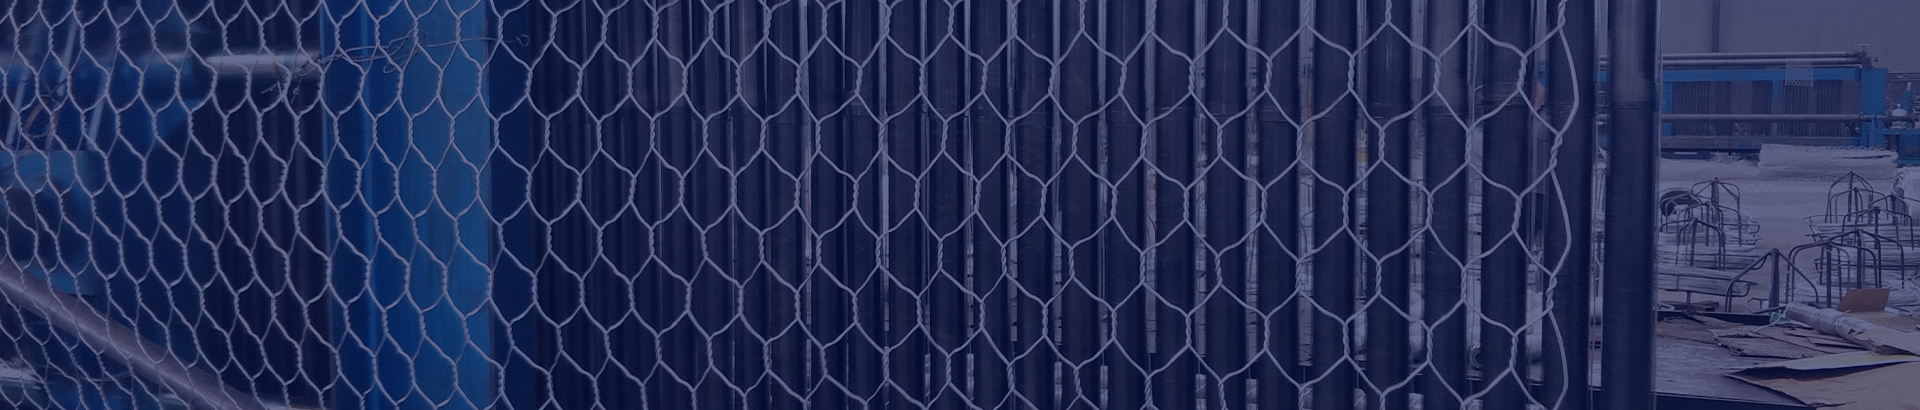
tie metal wire
Tying metal wire is more than just a functional task; it's a craft that requires precision, expertise, and the right tools. Understanding the intricacies of this process not only ensures the stability and durability of the binding but also enhances your skill set in various applications ranging from DIY projects to industrial settings.
Safety cannot be overlooked when working with metal wire. Always wear protective gloves to guard against sharp edges that can cause injury. Safety goggles are also recommended to protect your eyes from potential wire fragments. Ensuring a stable work environment, free from clutter and distractions, minimizes the risk of accidents. For industry professionals and enthusiasts alike, understanding these techniques and considerations elevates the quality and reliability of projects involving metal wire. Whether building a trellis, constructing a model, or securing heavy objects, mastering the nuances of tying metal wire opens up a plethora of possibilities. In today’s development of technology and DIY culture, resources such as online tutorials, community forums, and workshops provide valuable insights and promote continuous learning. Engaging with these platforms not only enhances your technical abilities but also connects you with a network of experts in the field. By integrating these practices into your routine, you not only achieve superior results but also cultivate a reputation of expertise and trustworthiness, distinguishing yourself in a competitive landscape. The art of tying metal wire, with its blend of science and creativity, represents a skill set that is both rewarding and indispensable.


Safety cannot be overlooked when working with metal wire. Always wear protective gloves to guard against sharp edges that can cause injury. Safety goggles are also recommended to protect your eyes from potential wire fragments. Ensuring a stable work environment, free from clutter and distractions, minimizes the risk of accidents. For industry professionals and enthusiasts alike, understanding these techniques and considerations elevates the quality and reliability of projects involving metal wire. Whether building a trellis, constructing a model, or securing heavy objects, mastering the nuances of tying metal wire opens up a plethora of possibilities. In today’s development of technology and DIY culture, resources such as online tutorials, community forums, and workshops provide valuable insights and promote continuous learning. Engaging with these platforms not only enhances your technical abilities but also connects you with a network of experts in the field. By integrating these practices into your routine, you not only achieve superior results but also cultivate a reputation of expertise and trustworthiness, distinguishing yourself in a competitive landscape. The art of tying metal wire, with its blend of science and creativity, represents a skill set that is both rewarding and indispensable.
Next:
Latest news
-
Reinforce Your Projects with Versatile Hexagonal Wire MeshNewsSep.12,2024
-
PVC WireNewsSep.12,2024
-
Maximize Your Closet Space with Clothes Hanger WireNewsSep.12,2024
-
Enhance Safety and Stability with Premium Rock Netting SolutionsNewsSep.12,2024
-
Bucket Handle WireNewsSep.12,2024
-
Baling Wire: Your Ultimate Solution for Securing and BundlingNewsSep.12,2024
-
What’s the Cost of Securing Your Property? Breaking Down Barbed Wire Fence PricesNewsAug.30,2024


